So you want to make a 3D cake topper? You’re in luck. In this tutorial I’ll show you how to assemble a 3D cake topper. And make sure to check out this tutorial to see how to design your own 3D cake topper.

This post contains affiliate links. This just means if you purchase something by clicking one of my links I may receive a small commission at no cost to you.
Things you’ll need
- Dimensional Foam Dots
- Wood Sticks
- Spray Glue
- Hot Glue Gun
- Tweezers
- Parchment Paper
- Your 3D cake topper parts
Let’s get started
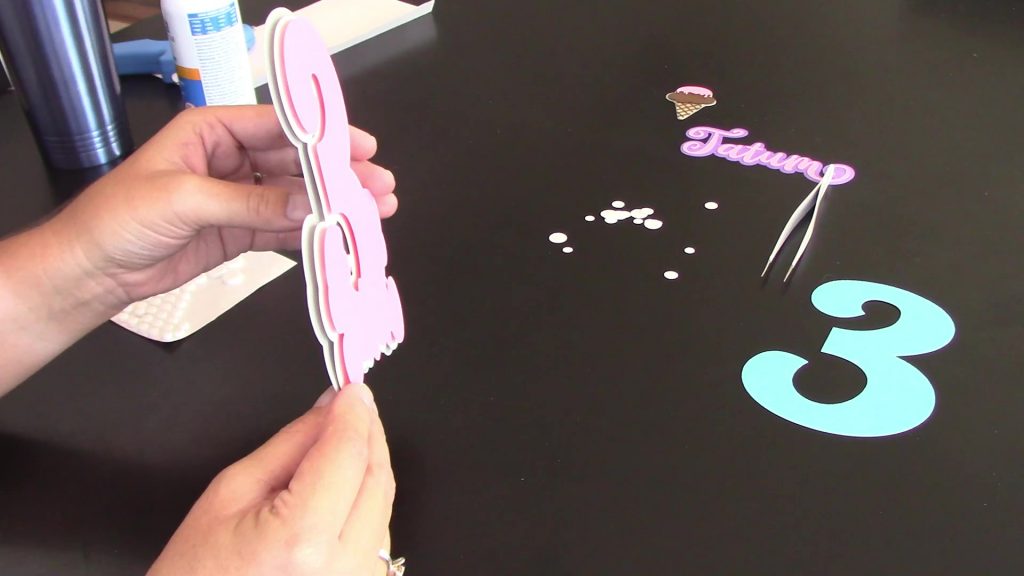
You’ll want to glue together all of your small decorative parts first. In my example I glued the parts of the ice cream cone together and the name together. This is where you’ll want to cover your work surface with parchment paper as the spray glue can get a bit messy.
Work from the bottom up. Spray some glue on your bottom layer and then place the parts on top making sure to glue each layer as you go. Just a little glue can go a long way. You’ll need to work quickly for this part. If you don’t get your parts glued down within about 15-30 seconds you will not have a permanent bond. Use tweezers for any tiny pieces.

Once you have your smaller decorative pieces glued together you can set them aside and remove the parchment paper from your work surface.
Assemble the layers
Okay, so if you’re going to make a 3D cake topper you’re going to need layers. That’s what makes the whole thing 3D. If you watched the “How to design a 3D cake topper” video you’ll remember that we designed from the top down. When it comes to assembling, we need to assemble from the bottom up.
Start with your bottom layer and place several of the dimensional dots all around the bottom layer. Make sure to pay attention to where your next layer will be placed so you don’t have any dots showing. (Make sure you watch the video so you can see where I wasn’t paying attention and placed a dot where it could be seen. If this happens to you it’s not the end of the world. I was able to remove my dot without damaging the cake topper.)

Follow this process for all of your base layers. When it’s time to add on your decorative parts (for me the ice cream cone and name) you’ll place your dots directly on the decorative parts rather than on the layer below. The video above shows how to do this.

Add the stick
Once your cake topper is all assembled you can glue the wooden stick to the back. Put a generous amount of hot glue down the back of your cake topper making sure to place it straight in the middle (or down 2 sides if your cake topper is pretty wide). Place your stick in the glue and allow it to dry for a few seconds. Then go in and reinforce the glue on either side of the stick to make sure it is super secure.

Leave the cake topper face down and allow the glue to dry for several minutes. Next, pick it up and admire your work. You just made a 3D cake topper!