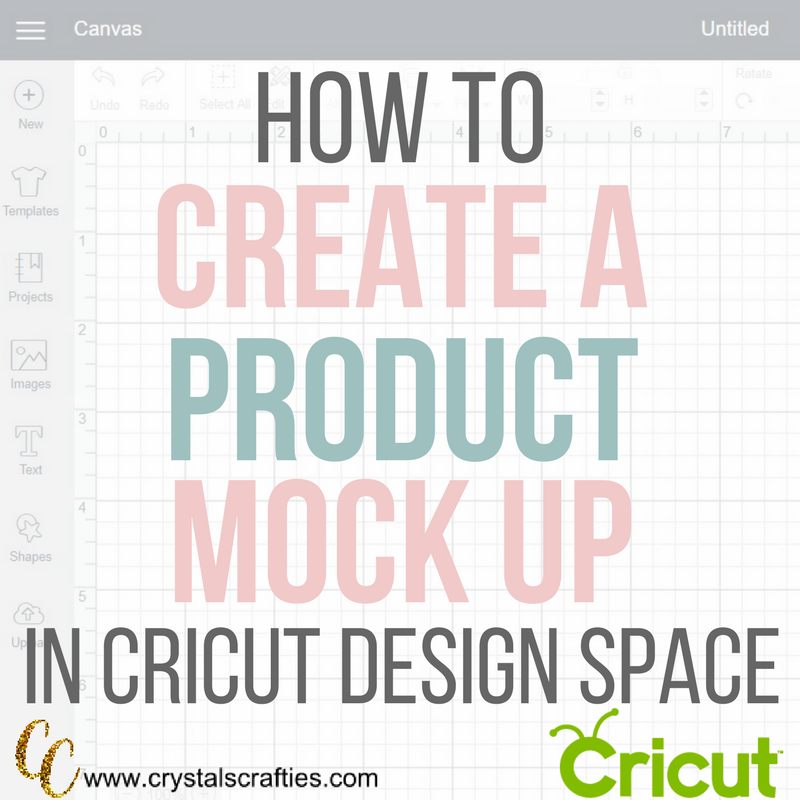
Did you know you can create a totally professional product mockup in Cricut Design Space? Well, you CAN. And it is super easy.
Check out the video below for all the details.
(This post contains affiliate links. This just means that I may receive a small commission if you purchase anything using one of the links in my post.)
Can’t watch the video right now?
No worries, I’ll break it all down for you here:
- Open the project in Design Space that you want to create your mockup for.
- Upload your styled photo from Creative Market. (Of course there are tons of places to get styled photos to make your product mockups but I get all of mine from Creative Market because they offer a commercial license for a VERY reasonable price where a lot of other sites don’t. And they have millions of photos to choose from. They are just simply the best!) Make sure when you upload your photo you save it as a print file, not a cut file.
- Enlarge your photo so that it takes up most of the screen. Do this with the photo locked so it doesn’t get distorted.
- Arrange the photo so that it is in the back and arrange your cut file so that it is in the front.
- Move and resize the cut file so that it looks natural on the photo you’re using for your mockup.
- Set your cut file to PRINT, not cut in the layers tab. Setting it to print makes it appear natural and as if it was really on the product you’re mocking it onto.
- Click in the upper left corner of your grid to turn off all of the grid lines.
- Open your snipping tool (If you’re not sure what or where that is I show you how to find it in the video or you can use your PC search bar to locate it.) and take a snippit of your newly mocked up product.
- Save the file and, voila, you have a product mockup.
Click now to check out all Creative Market has to offer.
Go snag the photo I used to make my mockups in the video.