In this tutorial, I’ll walk you through the process of adding a transparent lace effect to your PNG designs in Inkscape. Lace has long been a symbol of elegance and intricacy in design, adding a touch of vintage charm or delicate sophistication to any project. No matter what you’re working on, incorporating lace into your design can create a timeless aesthetic. To achieve that delicate lace effect in a digital format we’re going to use a program called Inkscape. Let’s get started.
(This post contains affiliate links. This just means if you purchase something by clicking one of my links I may receive a small commission at no cost to you.)
1. Getting Started with Inkscape
Inkscape is a powerful, free, vector graphics editor. I love using Inkscape because:
- It is 100% free to use. You simply download the software on your computer and you can use it as often as you’d like totally free.
- Inkscape is super powerful for designing PNG and SVG files.
- It is also very beginner friendly. Check out this tutorial on how to download and set up Inkscape.
2. Importing the lace for your design
We’re going to be using existing transparent lace SVG files for this tutorial. Using an existing file is just easier since you don’t have to create the lace and using an SVG file gives us complete control over the look of the final design. You can get your lace SVG from anywhere you’d like but it is VERY IMPORTANT that the file is in SVG format and that it is a seamless file. Here is the exact file I used in the video tutorial.
3. Importing the shape you want to fill with lace
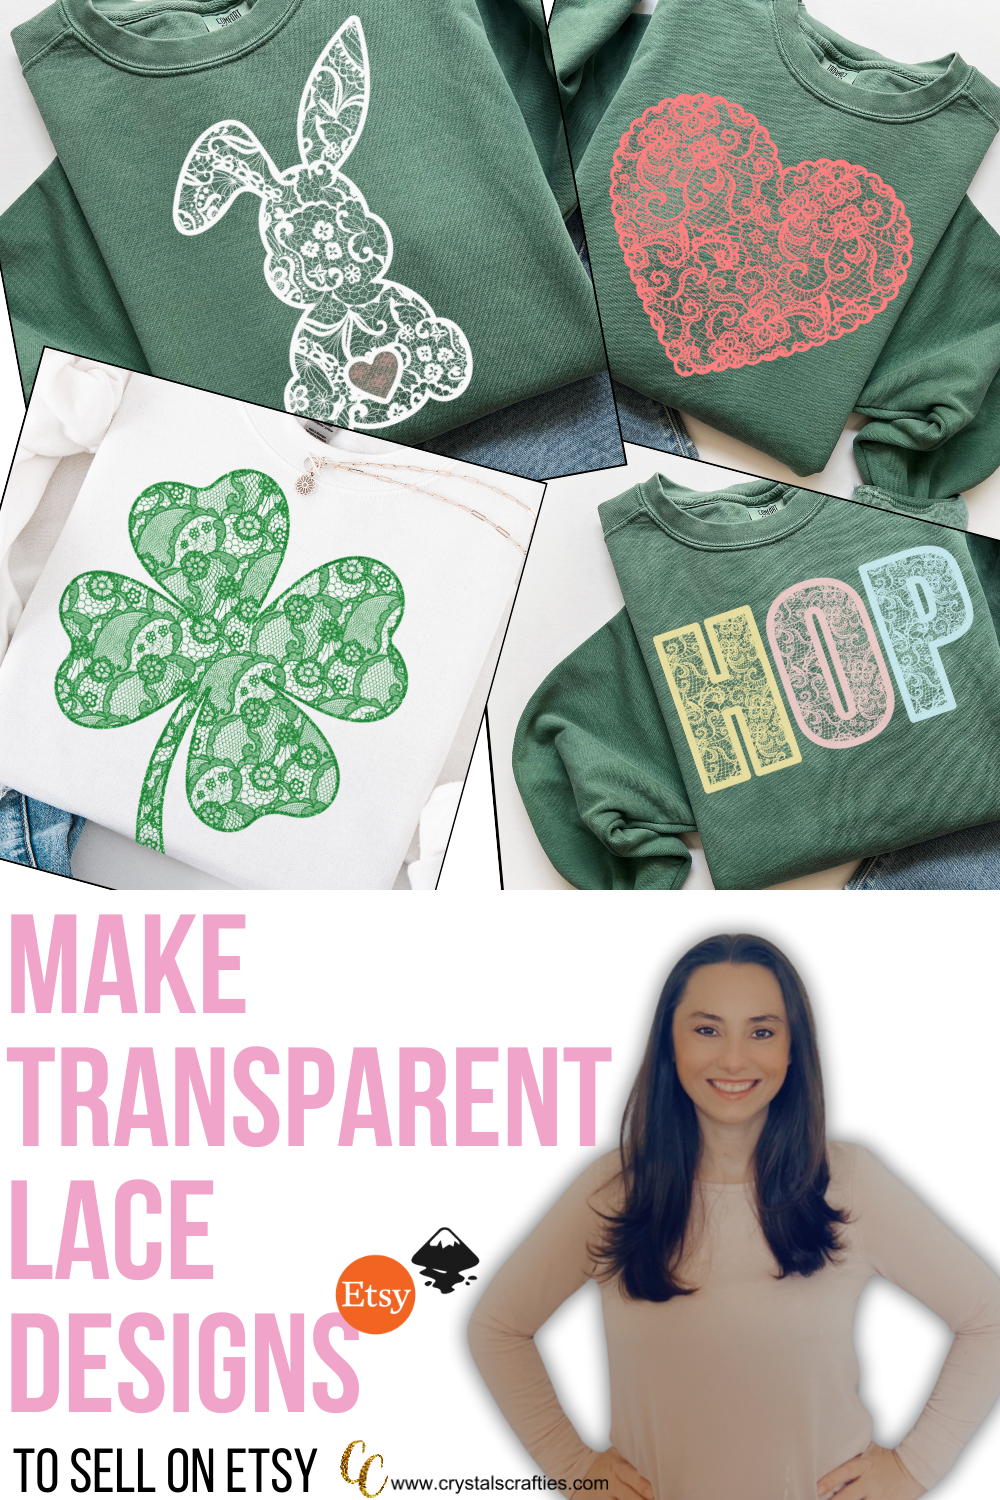
You can really use any shape or text you want for this lace effect. In the tutorial I just used a shamrock, a scalloped heart, a bunny and simple text so you can easily see how it all works. Again, it is important that whatever you’re filling with the lace effect is in SVG format.
If you want to get all these files for free, you can sign up for a free trial membership to Creative Fabrica. When you sign up, you’ll get your first 10 downloads totally free!
4. Putting together your transparent lace PNG design
Once you have your lace SVG and your elements you want to fill with the lace, it’s time to put it all together. We’ll be using the “set clip” function in Inkscape. Watch the video below for a detailed tutorial. Some very important things to keep in mind when you’re doing this:
- Both the lace and the element you’re filling with lace need to be SVG files
- The lace goes on top of the element you’re filling with lace
- You can only have 2 object’s selected for the “set clip” to work
5. Exporting your transparent lace PNG design
Once your design is done you’ll want to export it as a PNG file. Make sure you have the document sized to 3000 x 3000 px or larger so your final design is of high quality. To size your Inkscape canvas you simply go to “file” and then down to “document properties” and you can resize the canvas from there.
Adding a lace effect to your designs is a simple yet effective way to enhance your artwork with elegance and detail. With the ability to resize, customize, and integrate lace seamlessly, you can create beautiful PNG designs with ease
Do you want access to my tutorials before the release to the public? Sign up for my weekly newsletter and you’ll get to see the videos before everyone else! You’ll also get all kinds of freebies from my Etsy shop and Creative Fabrica.