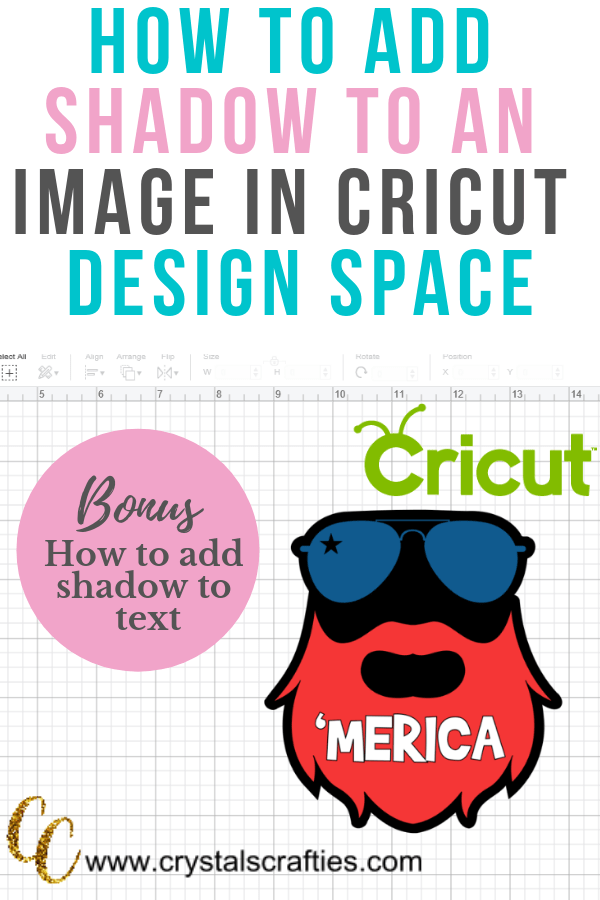
Cricut Design Space is a pretty powerful design tool but there are a few things you just can’t do within design space itself. Adding a shadow behind an image is one of them. In this quick tutorial I’ll show you how to add shadow to an image and import it to Cricut Design Space. Make sure to watch the video at the end which also shows how to add a shadow to text.

You’ll need to download Inkscape
Since there is no option to create a shadow or offset in Cricut Design Space you’ll need an outside source. The best one I’ve found is a free program called Inkscape. Of course there are other paid programs that will let you do the same thing but why would you pay when Inkscape is free and it is ALL YOU NEED. I use Inkscape to make all of my SVG’s and digital mockups. Head over to inkscape.org and download this free software.

Step 1:
Once you have Inkscape downloaded you’ll want to pull your SVG or photo into Inkscape. To do this you can drag and drop directly into the Inkscape Icon or you can open Inkscape, go to “File” and select “Import” then choose your photo or SVG.
Step 2:
Once you have your photo or SVG in Inkscape you need to turn it into a path. Inkscape works with “paths” to create cut files. To do this select your photo or SVG then go to “Path” and “Trace Bitmap”.

You’ll see a settings box pop up in the corner. Don’t change any of the settings. Just uncheck the “smooth” box at the bottom and check “remove background”. Click “update” and then “OK”. This will create your bitmap which turns your photo into a path.

Step 3:
You should now have a black and white image. This will become your shadow. You can delete your original photo or SVG as you won’t be needing it any longer. You’ll need to fill in your shadow layer to make it a full shadow. To do that go to “Path” and then “LinkedOffset”

Once you are in the Offset settings (you’ll know this because your cursor will change to a long skinny arrow) you can begin filling in your shadow. To do this you will need to use the keyboard controls. Hit “Ctrl” and “)” as many times as you feel is needed to fill in your shadow layer. You most likely will not need to hit it more than 3-4 times.

Step 4
Now that you have your basic shadow you’ll want to fill in the holes. To do this select your image and click “Path” and “Break Apart”. You’ll then notice all the holes are filled in. From here you’ll need to select “Path” and “Union”. This is like slice and weld in Design Space. You sliced out the holes and then you need to weld the entire shadow back together.


You’ve now completed your shadow layer. You’ll want to save the image as an “Inkscape SVG” and it’s ready to upload into design space.
Check out the video below on how to add shadow to an image in Cricut Design Space. It goes over some additional details of Inkscape along with how to work with the shadow once it’s in Design Space. There’s also a bonus on how to add shadow to text using Inkscape.
